
Connect Email (Gmail)
This guide walks you through connecting a Gmail account to Pinchy so your agents can work with email — reading, searching, drafting, and sending messages.
The setup has two parts: creating an OAuth app in Google Cloud (one-time), then connecting the account in Pinchy.
Prerequisites
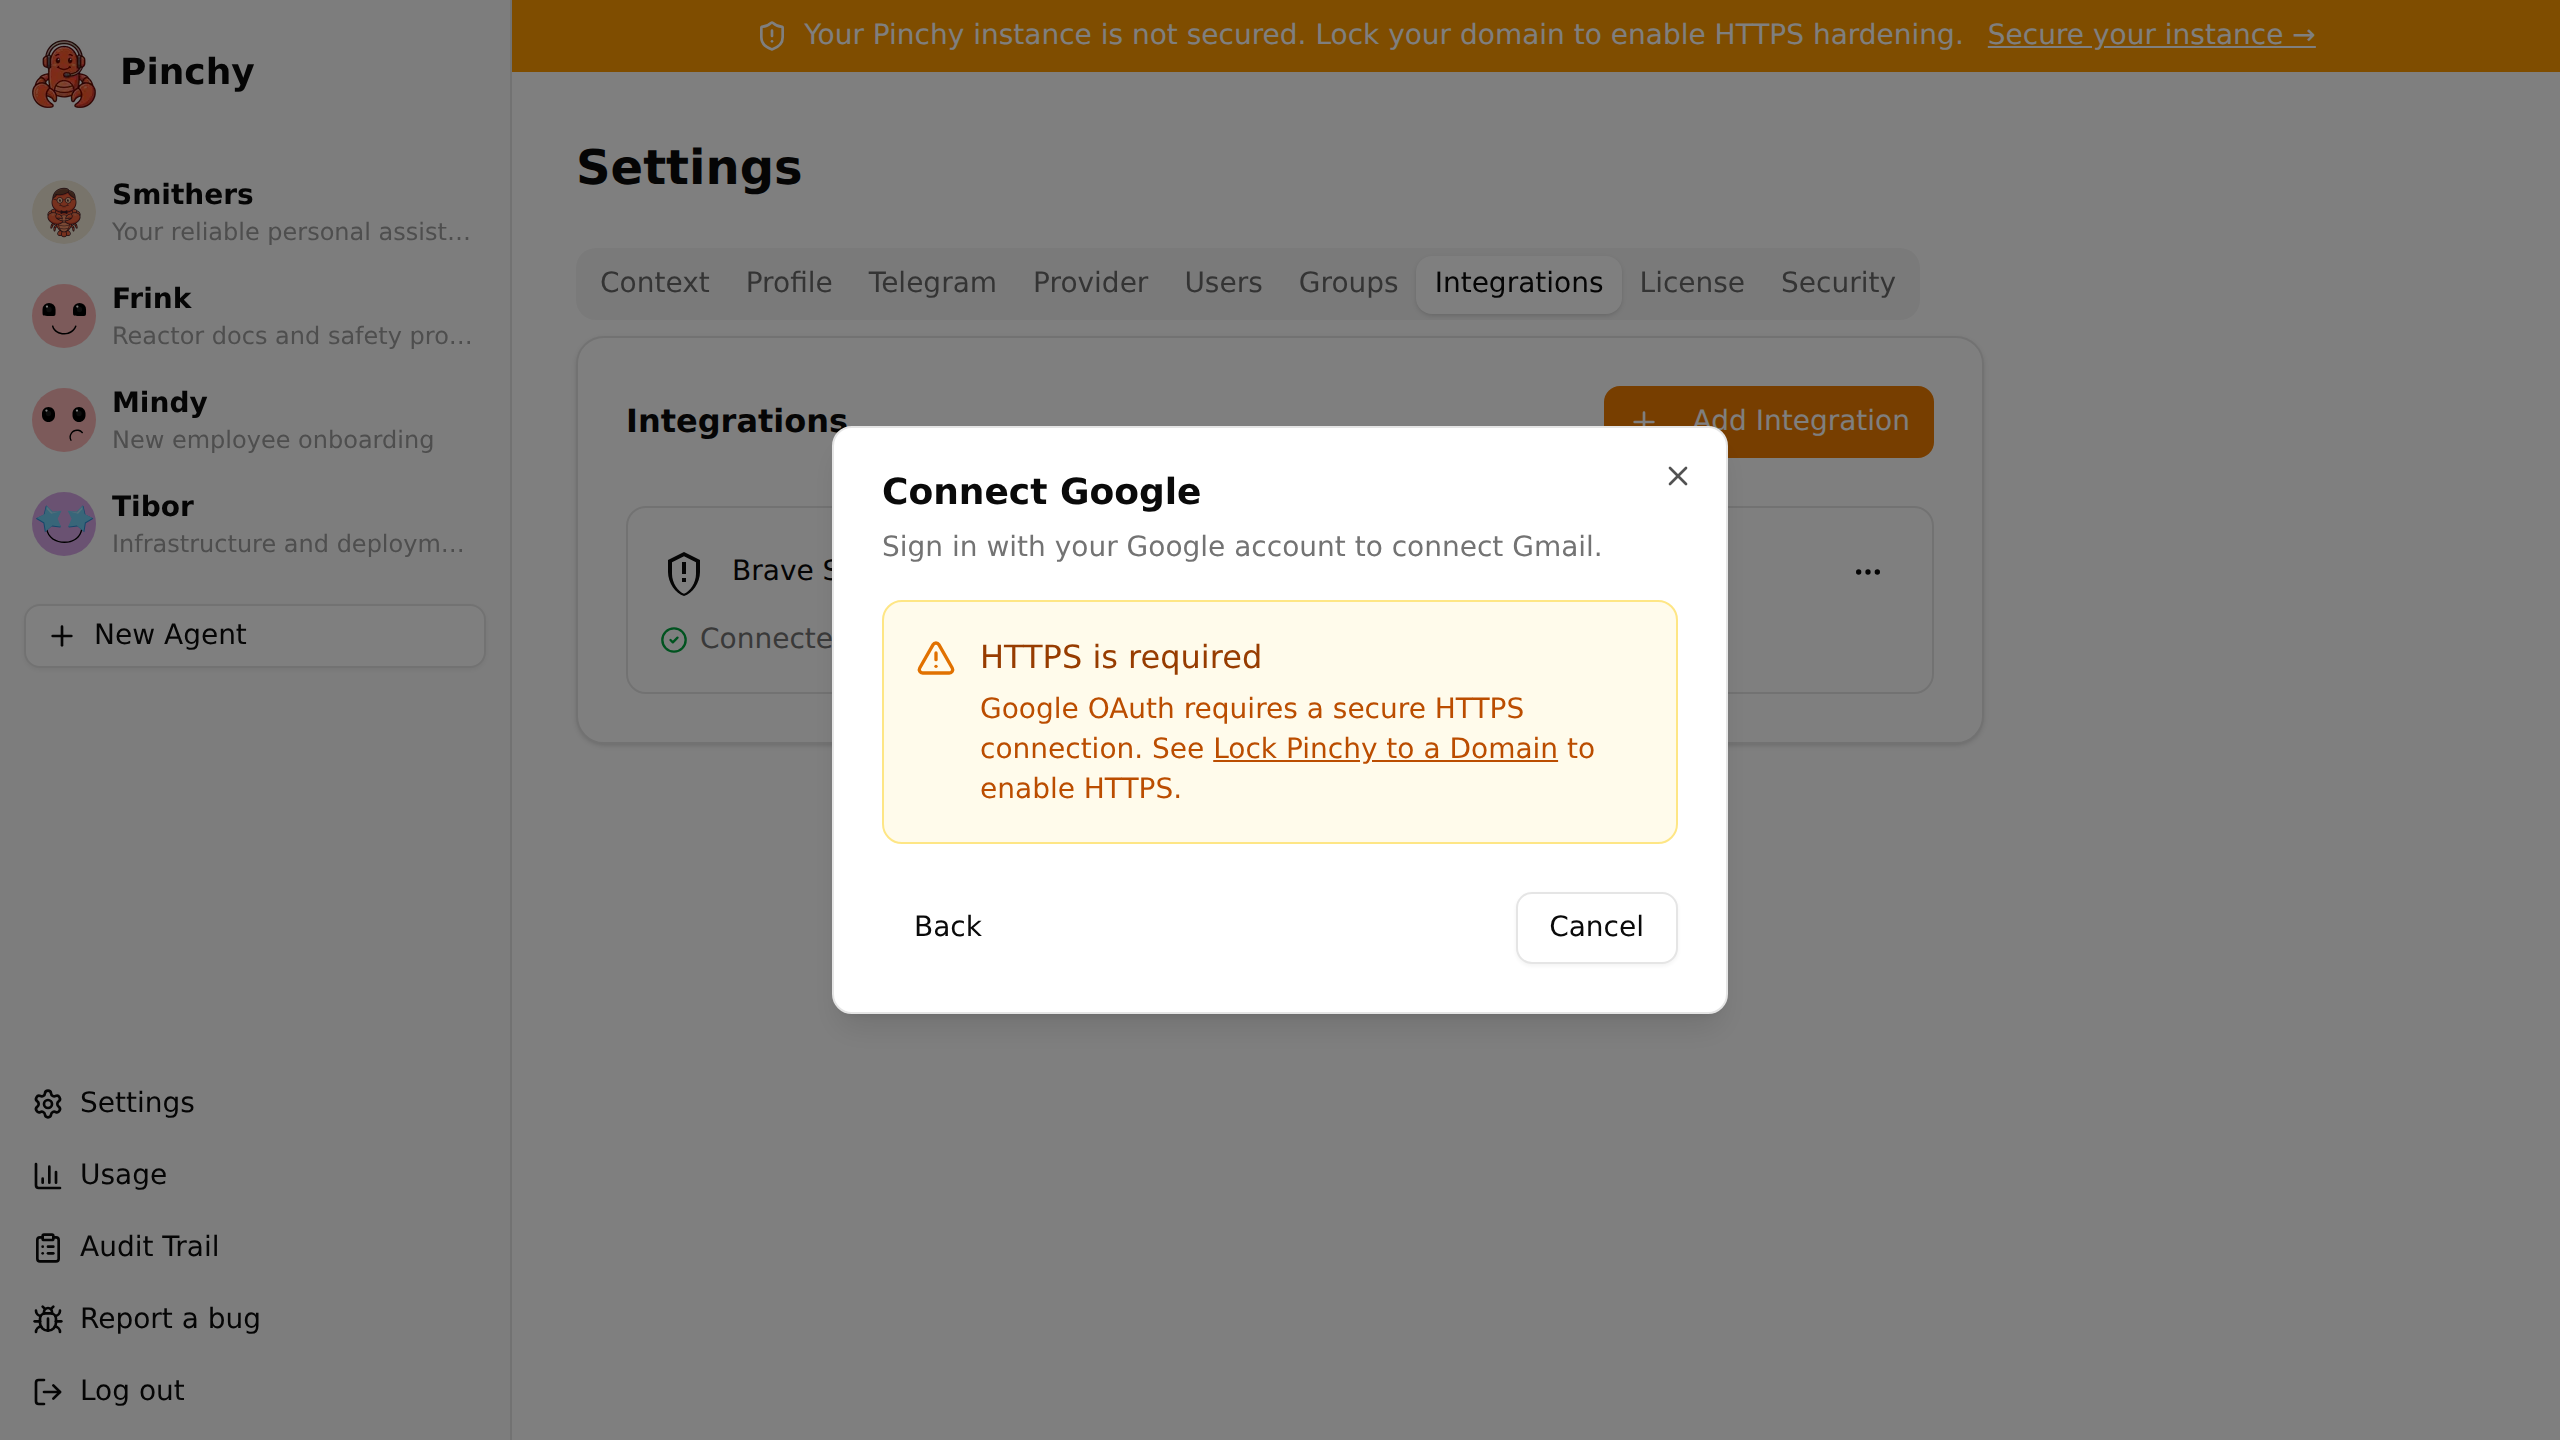
Section titled “Prerequisites”- Pinchy is running with HTTPS enabled (see Lock Pinchy to a Domain)
- You're logged in as an admin in Pinchy
- A Google Cloud Console account (free — any Google account works)
Part 1: Create a Google Cloud OAuth app
Section titled “Part 1: Create a Google Cloud OAuth app”Google requires you to register your Pinchy instance as an OAuth application before users can sign in with Google. This is a one-time step per Pinchy installation.
1.1 Open Google Cloud Console and select a project
Section titled “1.1 Open Google Cloud Console and select a project”- Go to console.cloud.google.com
- In the top bar, click the project name (or Select a project if none is selected)
- Create a new project (e.g. "Pinchy") or select an existing one
1.2 Configure the Auth Platform
Section titled “1.2 Configure the Auth Platform”Google Cloud uses the Auth Platform to manage OAuth consent screens and app identity. You need to set this up before creating credentials.
-
In the left sidebar, navigate to APIs & Services → OAuth consent screen
Google redirects you to Auth Platform → Overview. If you see "Google Auth Platform not yet configured", click Get Started.
-
Under Branding, fill in:
- App name — enter
Pinchy(this name appears on the Google sign-in screen) - User support email — select your email address
- Click Save
- App name — enter
-
Under Audience, choose who can use this OAuth app:
- Internal — your company uses Google Workspace (G Suite). Only people in your organization can connect — no Google review required. Recommended.
- External — personal Gmail accounts, or no Google Workspace. Anyone with a Google account can connect. Read the note below before choosing this.
1.3 Add Gmail scopes
Section titled “1.3 Add Gmail scopes”Scopes define what data your OAuth app can access. You need to add the Gmail scopes that match the permissions you want to grant agents.
-
In the Auth Platform sidebar, click Data Access
-
Click Add or remove scopes
-
In the filter, search for
gmailand add these scopes:https://www.googleapis.com/auth/gmail.readonly— read and search emailshttps://www.googleapis.com/auth/gmail.compose— create drafts and send emailshttps://www.googleapis.com/auth/userinfo.email— identify the connected account
-
Click Update and then Save
1.4 Add test users (External apps only)
Section titled “1.4 Add test users (External apps only)”If you chose External audience, Google restricts access to explicitly approved test users while your app is in Testing mode.
- In the Auth Platform sidebar, click Audience
- Under Test users, click Add users
- Enter the Gmail address(es) of the accounts you want to connect to Pinchy
- Click Save
1.5 Create OAuth credentials
Section titled “1.5 Create OAuth credentials”Now you create the actual Client ID and Client Secret that you'll enter in Pinchy.
-
In the Auth Platform sidebar, click Clients, then Create client (alternatively: APIs & Services → Credentials → Create Credentials → OAuth client ID)
-
Under Application type, select Web application
-
Give it a name (e.g. "Pinchy")
-
Under Authorized redirect URIs, click Add URI and paste the redirect URI shown in the Pinchy wizard (Settings → Integrations → Add Integration → Google, step 1)
-
Click Create
A dialog appears with your Client ID and Client Secret. Copy both values now — the Client Secret is only shown once. (If you lose it, you can create a new one in the credentials list.)
Part 2: Connect the account in Pinchy
Section titled “Part 2: Connect the account in Pinchy”-
Open the Add Integration wizard
In Pinchy, go to Settings → Integrations and click Add Integration, then select Google.
-
Enter your OAuth credentials
Paste the Client ID and Client Secret from Part 1 and click Save & Continue.
Pinchy encrypts these credentials and stores them on your server — they never leave your infrastructure.
-
Connect a Google account
Click Connect Google Account. Google's sign-in screen opens — sign in with the Gmail account whose email the agent should access.
After signing in, grant the requested permissions. If your app is in Testing mode, you'll see a warning screen first — click Continue to proceed.
-
Verify the connection
You're redirected back to Pinchy. The integration list now shows the connected Gmail address with a green "Connected" status.
For subsequent Google connections (a second Gmail mailbox), the OAuth credentials step is skipped — you go straight to "Connect Google Account". The app you set up in Part 1 is reused for every Gmail mailbox on this Pinchy instance.
Managing the app later
Section titled “Managing the app later”The Google OAuth app you set up in Part 1 lives in the Connected apps section of Settings → Integrations, below the list of connected mailboxes. You can update or reset it at any time — the app and the connected mailboxes are managed separately.
Edit the app credentials
Section titled “Edit the app credentials”Click Edit on the Google row to update the Client ID or Client Secret. The Client ID stays pre-filled and you can change it on its own. The Client Secret field starts empty — leave it blank to keep the stored secret, or type a new one to rotate it. Changes apply to every Gmail mailbox connected through this app.
Rotate the client secret
Section titled “Rotate the client secret”Google client secrets don't expire on a fixed schedule, but you may still want to rotate one — for example after a staff change or if you suspect it leaked. Rotating only the client secret keeps every mailbox connected: the existing refresh tokens stay valid, so agents keep working without interruption.
Changing the Client ID, on the other hand, points Pinchy at what is effectively a different app. The old refresh tokens no longer apply, so every mailbox must be reconnected afterward.
Reset the app
Section titled “Reset the app”Click Reset on the Google row to clear the stored credentials entirely. This is the deliberate way to remove an app — it stays configured until you reset it, even after you've removed its last mailbox.
Part 3: Grant agent email permissions
Section titled “Part 3: Grant agent email permissions”A connection alone doesn't give any agent access. You must explicitly grant permissions per agent.
-
Open the agent you want to connect to email
-
Click the gear icon to open Agent Settings
-
Select the Permissions tab
-
In the Email section, select the connected account and check the operations this agent may perform:
- Read messages — list, read, and search emails
- Create drafts — create draft emails (saved but not sent)
- Send messages — send emails immediately (cannot be undone)
-
Click Save & Restart and confirm. Permission changes restart the agent runtime, so active chats are briefly disconnected.
Publishing an External app
Section titled “Publishing an External app”If you chose External audience and want to remove the 7-day token expiry and the "This app isn't verified" warning, you can publish your app.
For apps that only use Gmail scopes, Google may require a security review before publishing. This process can take several weeks. An easier alternative for most Pinchy users is to switch to Internal audience (requires Google Workspace) — no review needed.
To publish an External app:
- Go to Auth Platform → Audience
- Under Publishing status, click Publish app
- Follow the prompts — if your app uses restricted scopes (Gmail is restricted), Google will require a verification process
Test it
Section titled “Test it”Open the agent's chat and try a few queries:
- "Show me my latest unread emails"
- "Search for emails from max@example.com about invoices"
- "Draft a reply to the last email saying we'll process it today"
- "How many unread emails do I have?"
Available tools
Section titled “Available tools”When email permissions are granted, the agent gets access to these tools:
| Tool | Permission required | Description |
|---|---|---|
email_list | Read | List emails from a folder (INBOX, SENT, DRAFTS, TRASH, SPAM; defaults to INBOX). Supports filtering by read status. |
email_read | Read | Read the full content of a specific email by ID. Lists any attachments with their IDs. |
email_get_attachment | Read | Download an email attachment into the agent's workspace. |
email_search | Read | Search emails using structured fields: from, to, subject, text, unread, sinceDays, folder, limit (e.g. { from: "user@example.com", subject: "invoice", sinceDays: 7 }). text is a free-text match across sender, subject, and body — use it to find a phrase mentioned in the message content, like an invoice number. |
email_draft | Draft | Create a draft email. Can also create reply drafts with replyTo. |
email_send | Send | Send an email immediately. Can also send replies with replyTo. |
Token refresh
Section titled “Token refresh”Google access tokens expire after about one hour. Pinchy automatically refreshes expired tokens in the background — no action required.
If a refresh fails permanently — the Google account revoked access, the refresh token expired after 7 days in Testing mode, or an unused token lapsed after 6 months — the mailbox's card in Settings → Integrations switches to a red "Authentication failed" state.
To recover, open the mailbox's … menu, click Reconnect, then Reconnect via Google in the dialog. This restarts the Google sign-in flow for that mailbox and keeps its existing agent permissions attached — you don't have to re-grant anything.
What's next
Section titled “What's next”- Integrations — how connections and permissions work
- Agent Permissions — the full allow-list model