Agent Settings
Every agent in Pinchy is configured through a settings page. To open it, navigate to an agent's chat and click the gear icon in the top bar. Which tabs you see depends on your role and the agent type.
| Tab | What it controls | Who can see it | | ----------------------------------------------------- | ------------------------------------ | -------------------------- | | General | Name, tagline, model, agent type | Everyone who can edit | | Personality | Avatar, personality preset, SOUL.md | Everyone who can edit | | Instructions | AGENTS.md operating instructions | Everyone who can edit | | Permissions | Tool allow-list, directory access | Admins only, shared agents | | Access Enterprise | Visibility mode, group assignment | Admins only, shared agents | | Telegram | Connect a Telegram bot to this agent | Admins only |
The Permissions and Access tabs exist only for shared agents. Personal agents (the auto-created Smithers each user gets) don't show them because there's nothing to share. Admins still see the Telegram tab on Smithers, but the main Smithers bot is managed centrally via Settings → Telegram rather than per-agent.
General tab
Section titled “General tab”
The General tab controls the agent's identity and the AI model it uses.
| Field | Description | | ----------- | --------------------------------------------------------------------------------------------- | | Name | The agent's display name, shown in the sidebar and chat header. Maximum 50 characters. | | Tagline | A short description shown below the agent name in the sidebar. Optional. | | Model | The AI model the agent uses, grouped by configured provider (e.g. OpenAI, Anthropic, Ollama). |
Below the form fields, the tab shows the agent type — either "Personal agent" or "Shared agent." Personal agents are private to their owner with isolated memory and conversations. Shared agents are accessible to all team members, and memory from all conversations is shared.
The Danger Zone at the bottom of the General tab lets admins delete shared agents. Personal agents cannot be deleted.
Personality tab
Section titled “Personality tab”
The Personality tab controls how the agent looks and communicates.
Avatar
Section titled “Avatar”Each agent gets a randomly generated avatar. Click Re-roll to generate a new one. The built-in Smithers agent has a fixed avatar that cannot be changed.
Personality presets
Section titled “Personality presets”Presets define an agent's tone, communication style, and character. Selecting a preset fills in the SOUL.md file with a matching personality definition. Four presets are available:
| Preset | Suggested name | Style | | ----------------- | -------------- | --------------------------------------------------------------------------------------------------- | | The Butler | Smithers | Formal, competent, dry humor. Warm but professional — like an executive assistant at a top firm. | | The Professor | Ada | Patient, thorough, slightly academic. Loves explaining connections between concepts. Cites sources. | | The Pilot | Jet | Brief, decisive, calm under pressure. No wasted words. Uses structured formats. | | The Coach | Maya | Warm, encouraging, invested in your success. Asks reflective questions. Direct when needed. |
When you switch presets, a confirmation dialog appears if the current SOUL.md content has been modified, since switching replaces the existing text. If the SOUL.md content matches the target preset exactly, the switch happens without confirmation.
A "Customized" badge appears next to the heading when the SOUL.md content no longer matches any preset — either because you edited it manually or started from scratch.
Custom personality via SOUL.md
Section titled “Custom personality via SOUL.md”Click Customize below the preset picker to expand the SOUL.md editor. This is a Markdown file that defines the agent's personality and identity. The agent reads it at the start of every conversation.
You can use a preset as a starting point and fine-tune the text, or write a completely custom personality from scratch. Editing the SOUL.md content after selecting a preset automatically marks the personality as "Customized."
All presets include the instruction "Always respond in the same language the user writes in" — consider keeping this in custom personalities as well.
Instructions tab
Section titled “Instructions tab”The Instructions tab provides an editor for the agent's AGENTS.md file. This is separate from SOUL.md (personality) and serves a different purpose:
- SOUL.md (Personality tab) — who the agent is: tone, style, character
- AGENTS.md (Instructions tab) — what the agent does: tasks, domain-specific rules, operating procedures
Think of AGENTS.md as the agent's job description. Use it to define what the agent should do, how it should handle specific tasks, and any domain-specific rules it should follow.
The agent reads both files at the start of every conversation. Separating personality from instructions makes it easy to change one without affecting the other — for example, switching an agent from "The Butler" to "The Pilot" personality without rewriting its task instructions.
Not sure whether a piece of knowledge belongs here or in Memory? See Instructions vs. Memory for the heuristic.
Permissions tab
Section titled “Permissions tab”The Permissions tab controls which tools an agent can use. Pinchy uses an allow-list model: agents start with zero tools enabled, and admins grant specific capabilities.
Tools are organised into a Knowledge Base section that's always shown, plus sections that only appear when a matching connection exists.
Knowledge Base — sandboxed access to the agent's own workspace and admin-curated directories. Workspace read access is always on — agents can always list and read files under uploads/ and workbench/. This section contains:
- The Allowed Directories picker, which grants the agent read-access to additional directories under
/data/— separate from the agent's own workspace. - The Write files (
pinchy_write) toggle — the one powerful tool shown here, letting the agent save files into its ownworkbench/directory (anduploads/, kept writable for compat).
Web Search — appears only when at least one active Web Search (Brave) connection exists:
| Tool | Tool ID | Description |
| --------------- | ------------------- | -------------------------------------------- |
| Search the web | pinchy_web_search | Query Brave Search and return ranked results |
| Fetch web pages | pinchy_web_fetch | Download and read content from a URL |
Integration tool families (Odoo, Email) — each family appears as soon as a connection of that type exists, regardless of whether this particular agent already has access to it. That's where you grant access: pick the connection, then choose an Odoo access level or the email operations this agent should have. See Agent Permissions for the full per-tool breakdown.
For a deeper explanation of the permission model, defense in depth, and how permissions are translated to OpenClaw configuration, see Agent Permissions.
Access tab Enterprise
Section titled “Access tab ”The Access tab controls which users can see and use an agent. Without an enterprise license, this tab shows an upgrade prompt. See Groups for details on creating and managing groups.

Visibility modes
Section titled “Visibility modes”| Mode | Behavior | | -------------- | ----------------------------------------------------------------- | | All users | Every authenticated user can see and chat with this agent. | | Restricted | Only admins and members of selected groups can access this agent. |
New agents are created with Restricted visibility by default. This lets admins configure and test an agent before making it available.
Group assignment
Section titled “Group assignment”When visibility is set to Restricted, a group picker appears listing all groups configured in Settings. Check one or more groups to grant their members access. If no groups are selected, only admins can see the agent.
Telegram tab
Section titled “Telegram tab”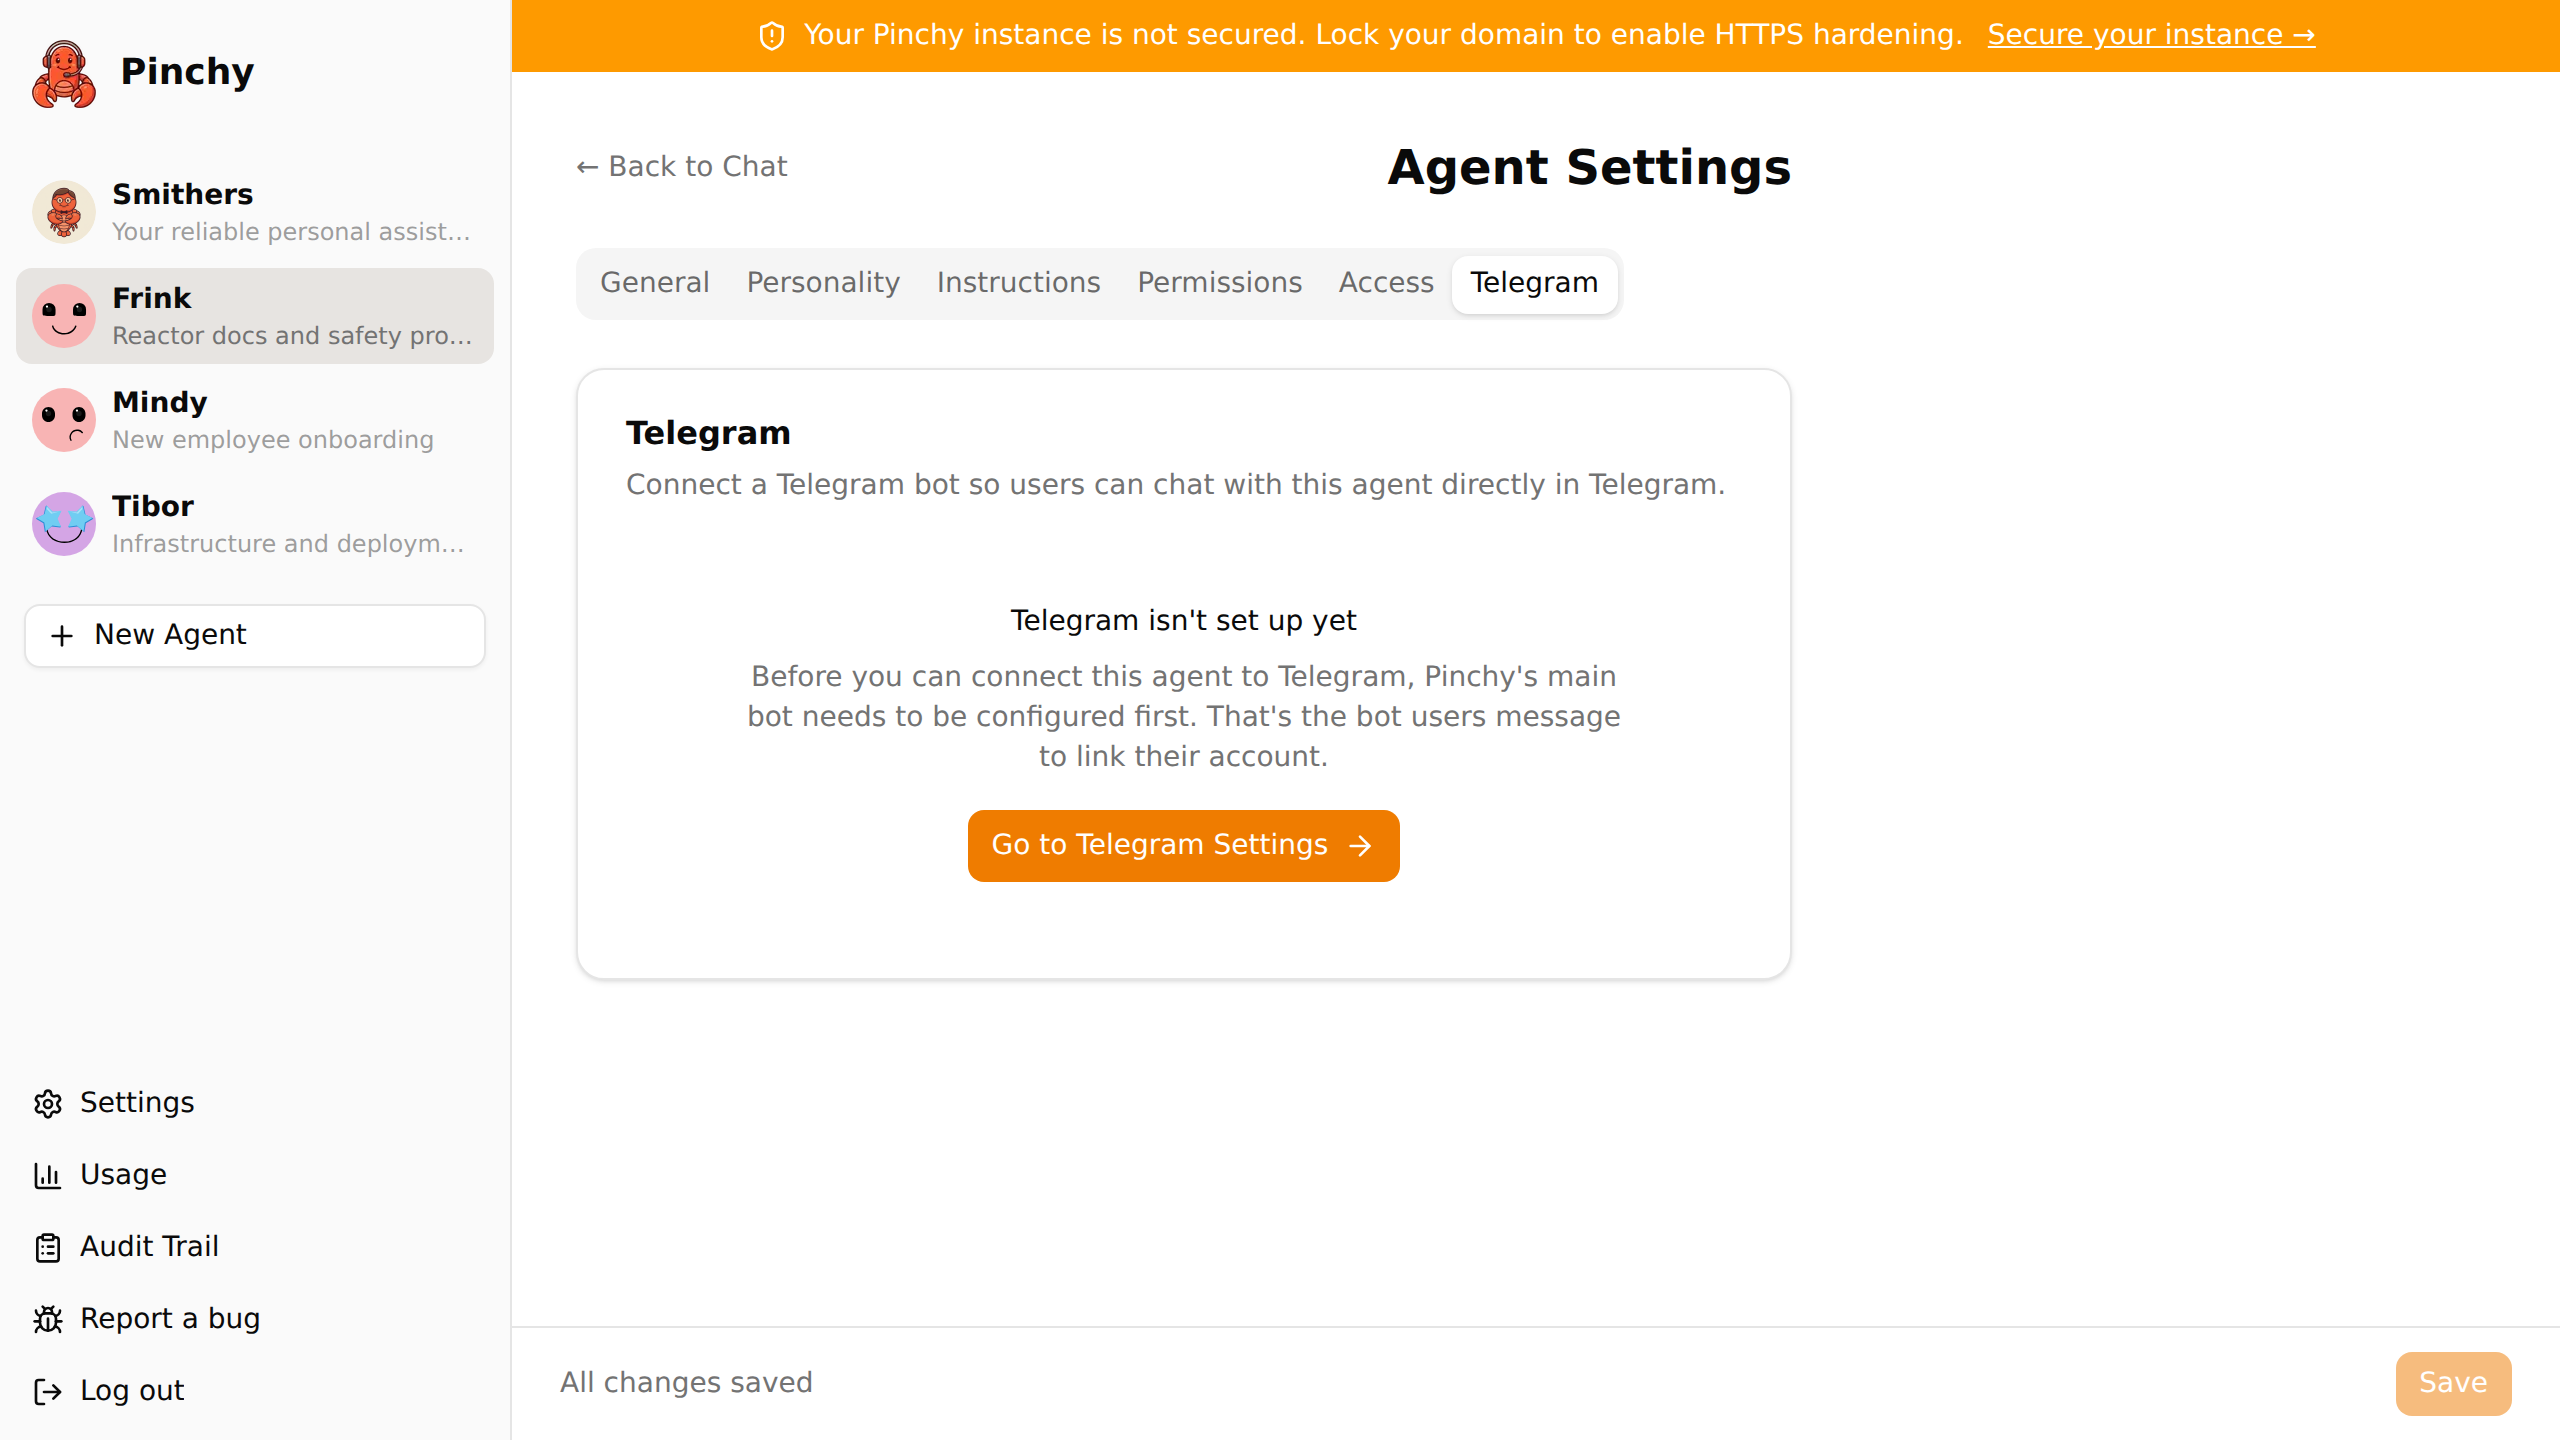
The Telegram tab lets admins connect a Telegram bot directly to this agent, so users can chat with the agent from their phone. Each agent can have its own bot with its own Telegram username.
The main Pinchy bot must be set up first via Settings → Telegram — users link their Telegram accounts once via the main bot and can then message any bot they have permission to use. For Smithers, this tab shows the shared main bot status; to remove it, use "Remove Telegram for everyone" in Settings → Telegram. For other agents, the tab shows a token field and a Connect button.
For the full flow including BotFather setup and account linking, see Set Up Telegram.
Creating agents
Section titled “Creating agents”Agents are created from the Create New Agent page. Pinchy ships with pre-configured templates for common use cases — Knowledge Base agents, vision-powered document analyzers, Odoo ERP assistants, email agents, and more. Each template auto-configures tools, personality, and system instructions; you choose a name and any template-specific options.
The generic starting points are:
- Knowledge Base — pre-configured with safe file tools for answering questions from directories you select
- Custom Agent — starts with only the default Write files tool enabled, for when you want to configure everything else manually
Domain-specific templates (e.g., Sales Analyst, HR Analyst, Contract Analyzer) appear in the template picker when the corresponding integration is connected or their required capabilities are available. See Connect Odoo for the Odoo template list.
Every agent you create is a shared agent — the only personal agent is the Smithers that Pinchy auto-creates for each user. This is why the Permissions and Access tabs, and therefore integrations like email or Odoo, are always available on agents you create but never on a personal Smithers. See Integrations for what this means for connecting a private mailbox (short version: private per-user mailboxes aren't supported).
After creation, all settings can be changed at any time through the settings page described above. The runtime restarts automatically after creation to activate the new agent's config.
Save behavior
Section titled “Save behavior”Changes across all tabs are tracked independently. A small amber dot appears on any tab with unsaved changes, and the bottom bar shows "Unsaved changes."
The save button behavior depends on what changed:
- Save — appears when only personality, instructions, or access settings changed. Saves without disruption.
- Save & Restart — appears when General (name, model) or Permissions settings changed. These changes require restarting the OpenClaw agent runtime to take effect. A confirmation dialog lists all pending changes and warns that active chats will be briefly disconnected.
If you try to navigate away with unsaved changes, a warning dialog asks you to confirm before leaving.